Developing a WhatsApp Bot in Java: Complete Beginner's Guide
- Connect the WhatsApp API using the Whapi.Cloud provider;
- Set up webhooks to process incoming messages;
- Send text and media messages;
- Manage groups and other messenger features;
Preparing to Develop a WhatsApp Bot in Java
1. Install the Required Tools
2. Set Up the Development Environment
mvn archetype:generate -DgroupId=com.example.whatsappbot -DartifactId=whatsapp-bot -DarchetypeArtifactId=maven-archetype-quickstart -DinteractiveMode=false
3. Prepare the Code Editor
4. Obtain the API Token
Obtaining the Token and Connecting Your WhatsApp Number
1. Register at Whapi.Cloud
2. Connect Your WhatsApp Number
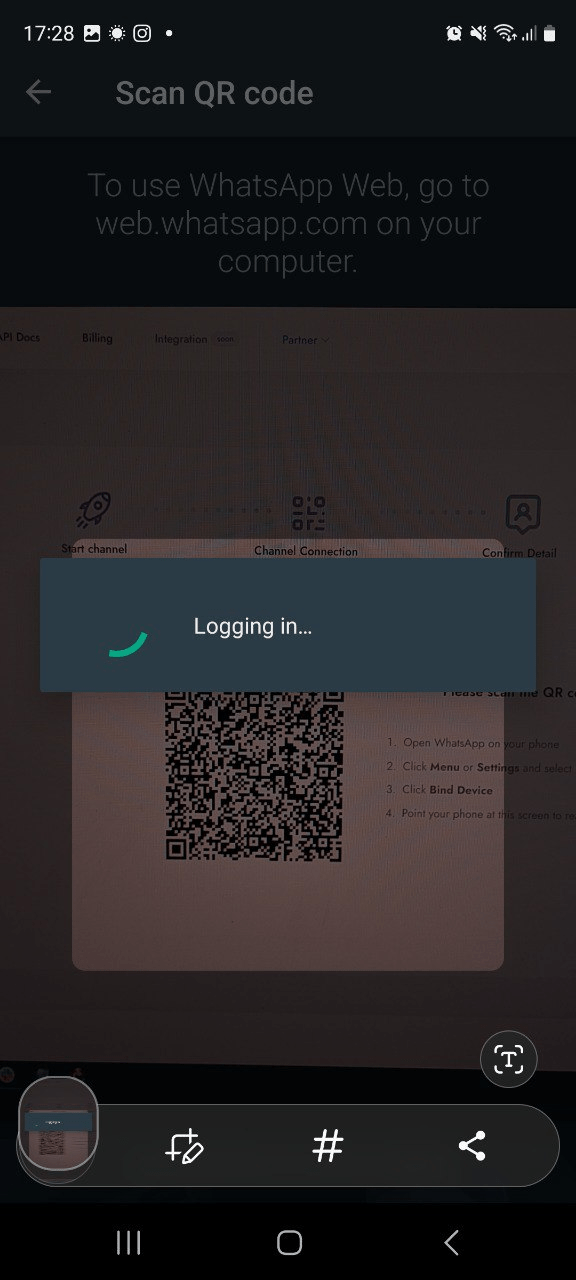
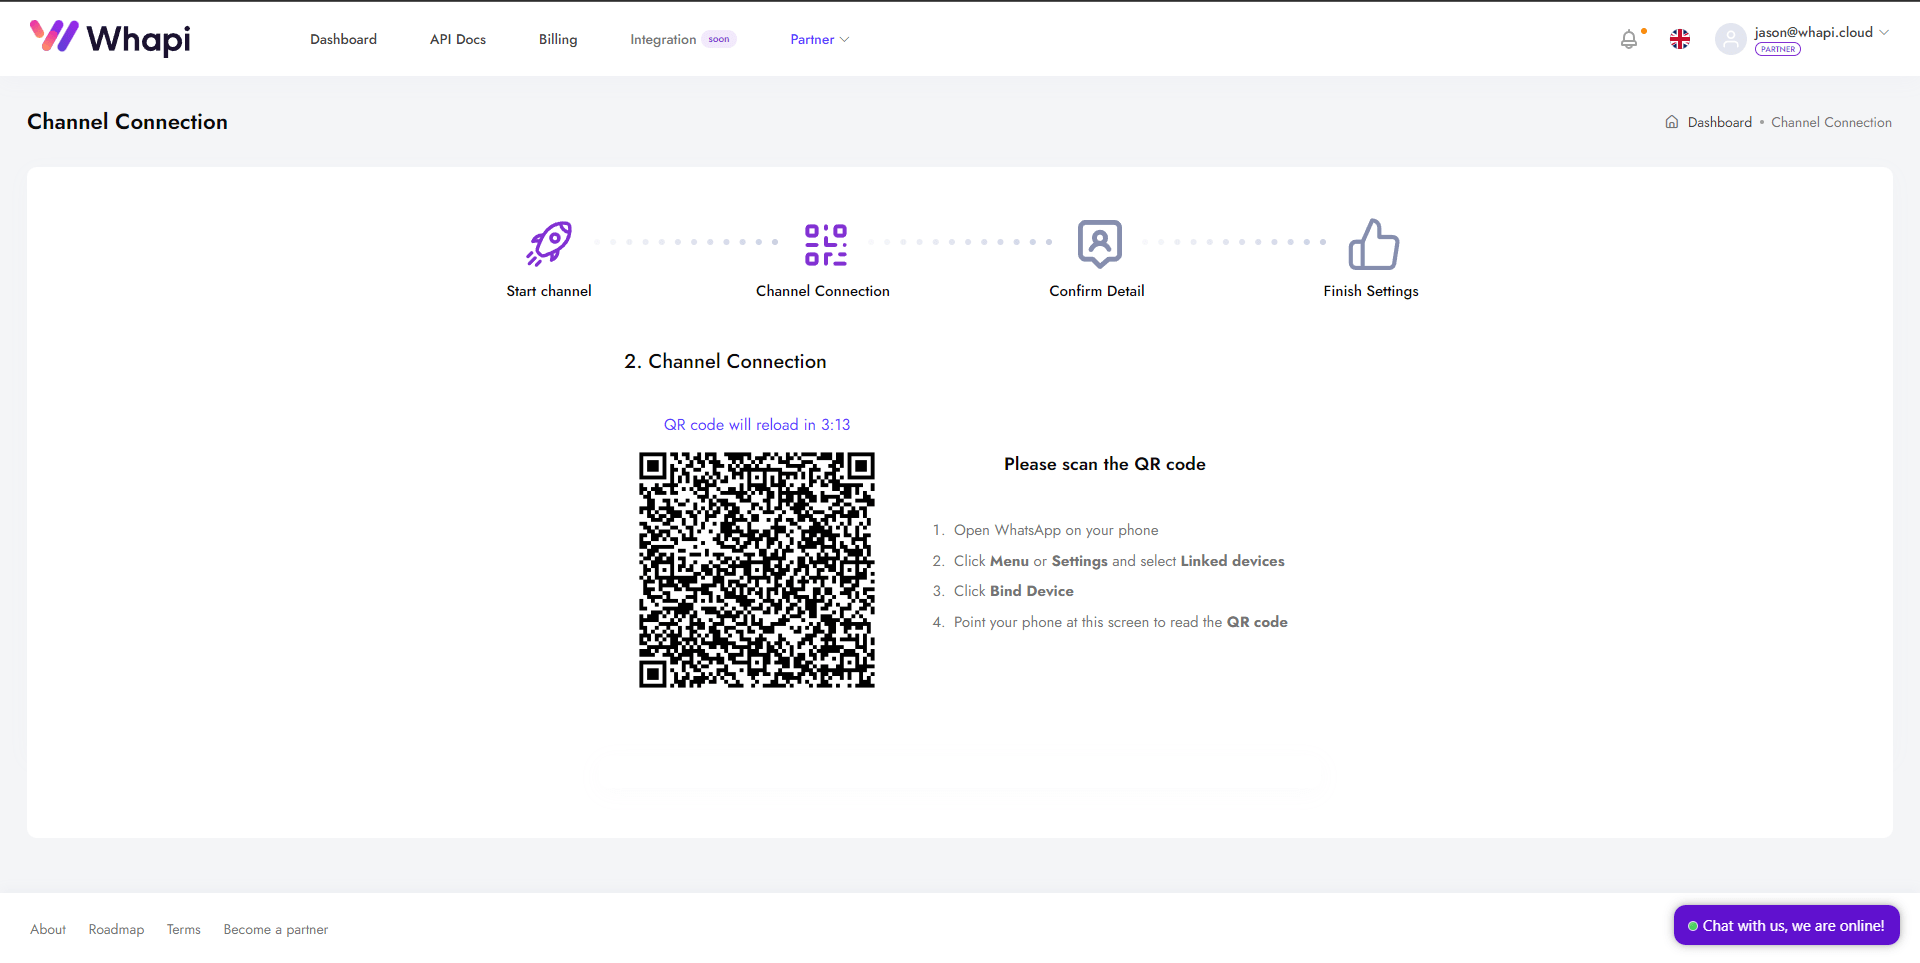
- 2) You will see the first connection step, where a QR code will be provided to connect your number;
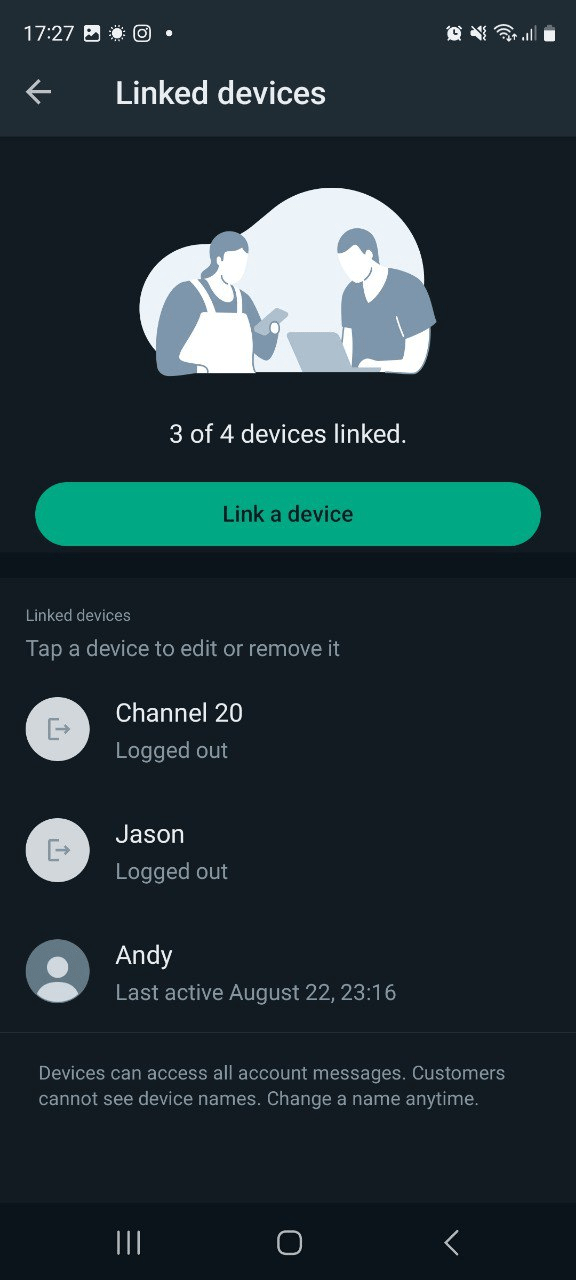
- 3) On your device, open WhatsApp → Settings → Linked Devices → Link a Device;
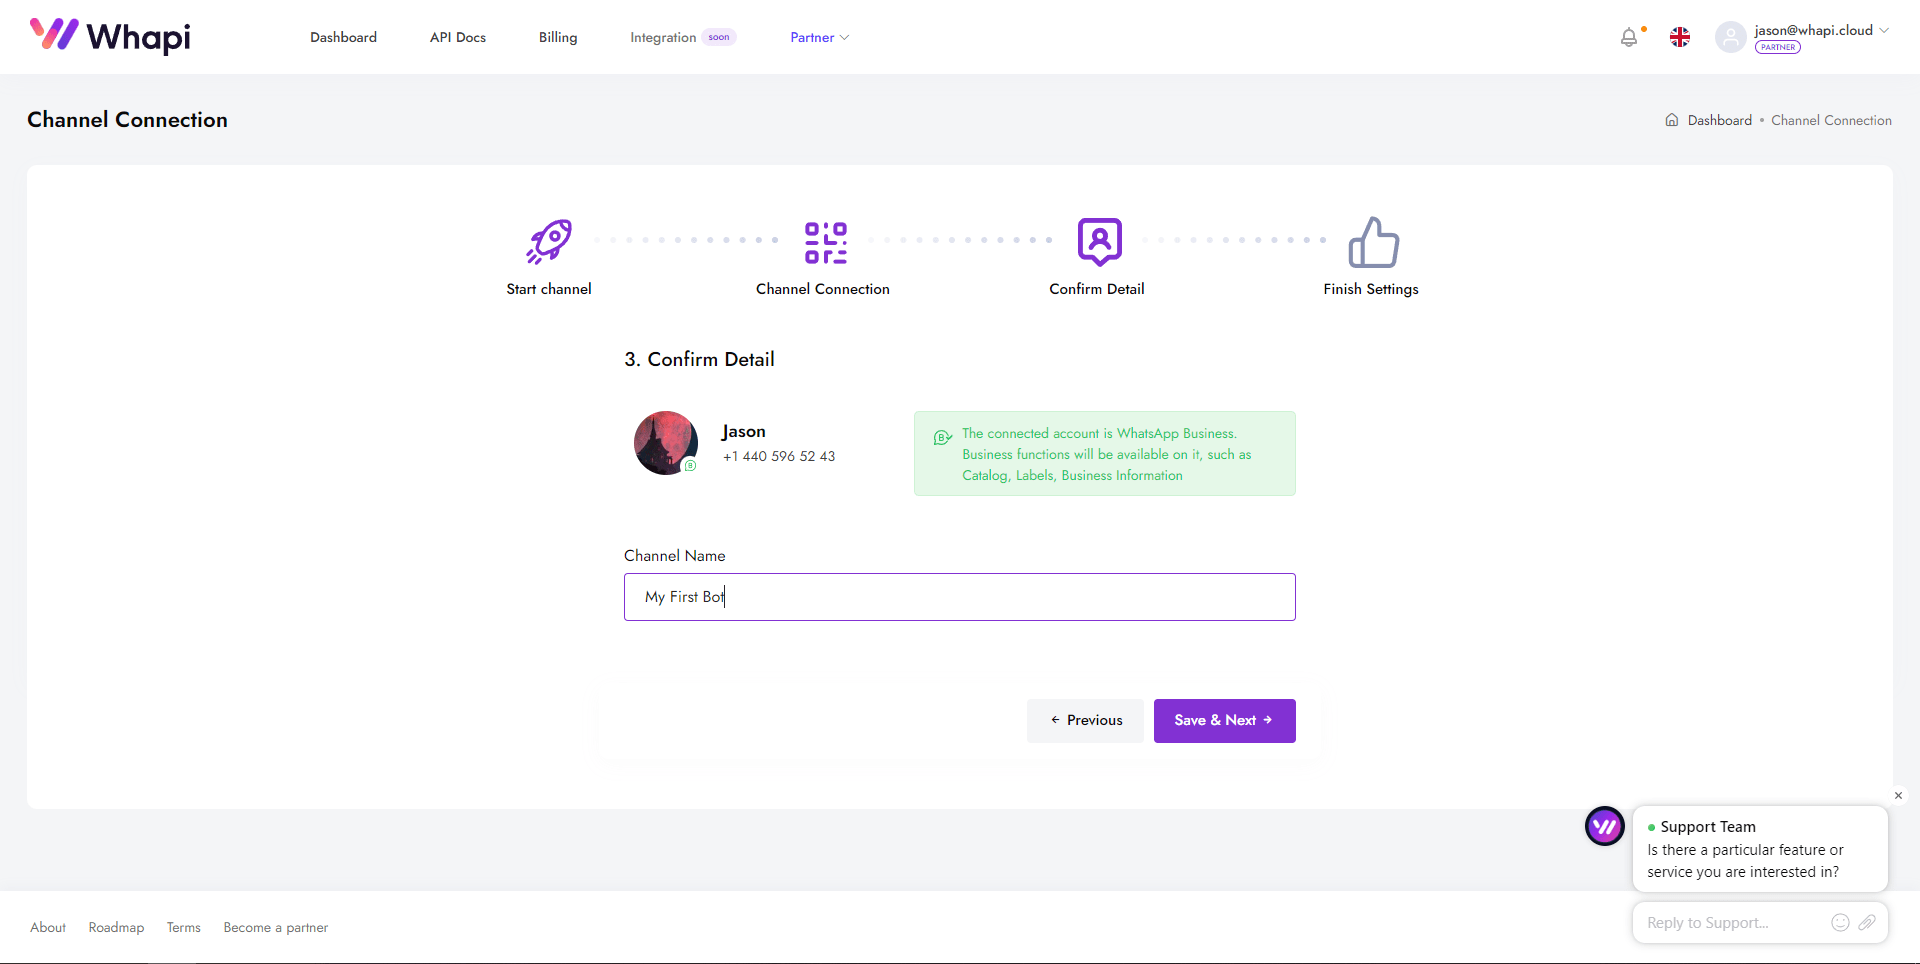
- 4) Scan the provided QR code through WhatsApp;
3. Retrieve the API Token
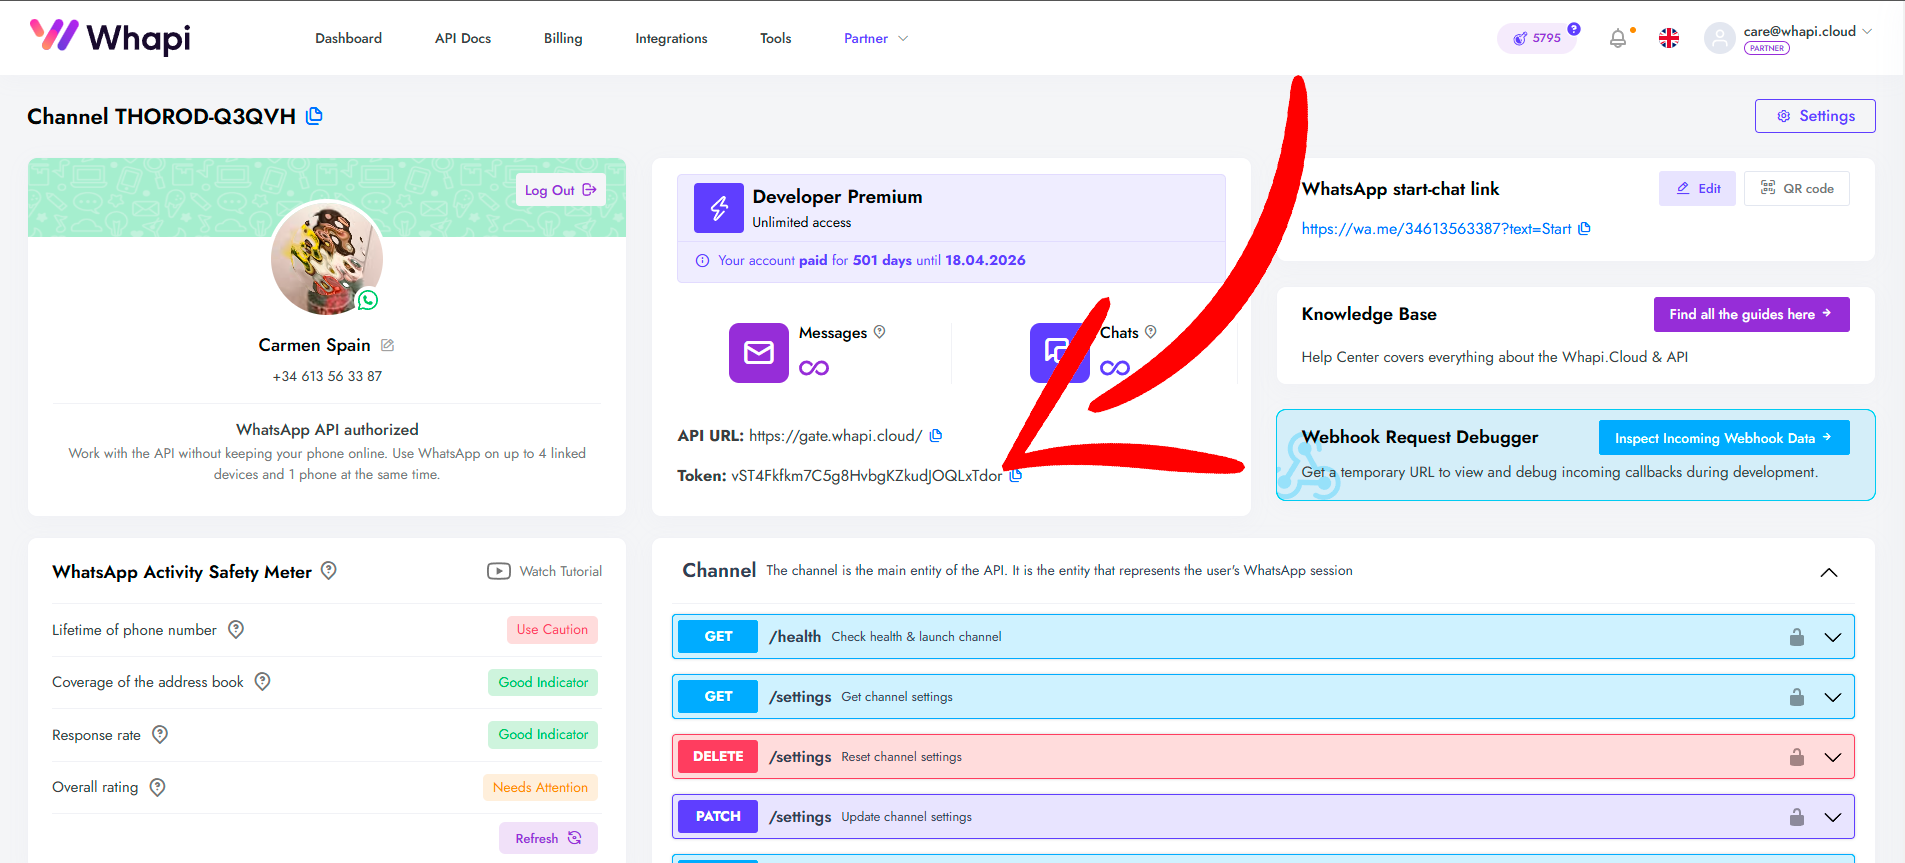 Your API Key
Tools for Working with the API
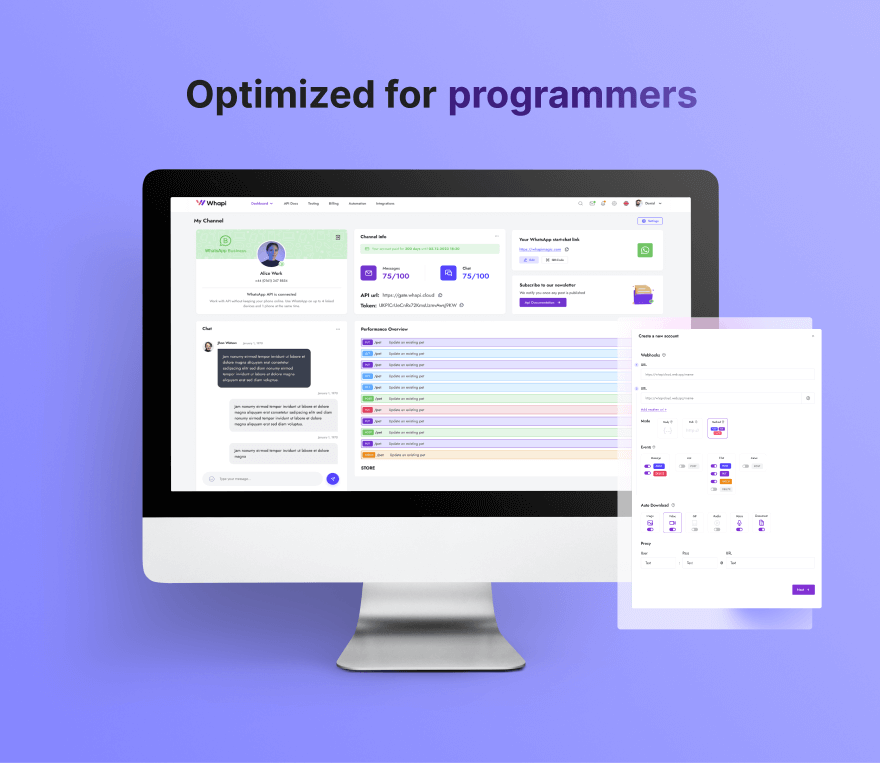
- User-Friendly Developer Hub: A specialized platform with documentation and examples provides code snippets for all endpoints in various programming languages.
- Postman Collection: Ready-made requests for testing the API through Postman.
- Swagger File: A detailed description of all API methods, with testing capabilities directly from the channel page.
What is a Webhook and How to Set It Up?
What is a Webhook?
- Instant notifications. All events are processed almost in real-time.
- High throughput. Notification speed is only limited by your server's performance.
- Flexibility. You can receive only the events you truly need, such as: Personal and Group messages; Message status changes; Group participant changes; Missed call notifications; Channel statuses, and much more.
How and Where to Get a Webhook URL?
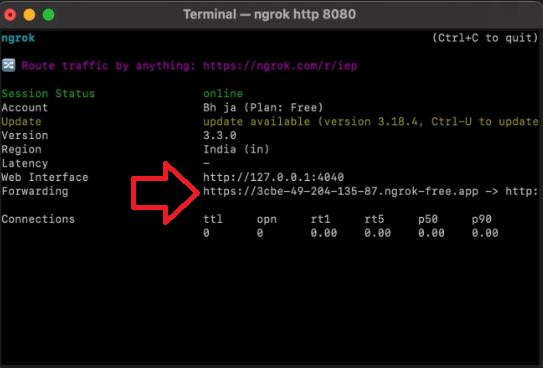
- 1) Download Ngrok from the official website and unzip it. Now open the terminal and navigate to the folder where Ngrok is stored.
- 2) Run ./ngrok http PORT_NUMBER, replacing PORT_NUMBER to forward requests to your local server (default port is 8080).
- 3) You should now have a public URL that you can use as the webhook URL. Copy this URL for further use.
Setting Up a Hook on a Channel
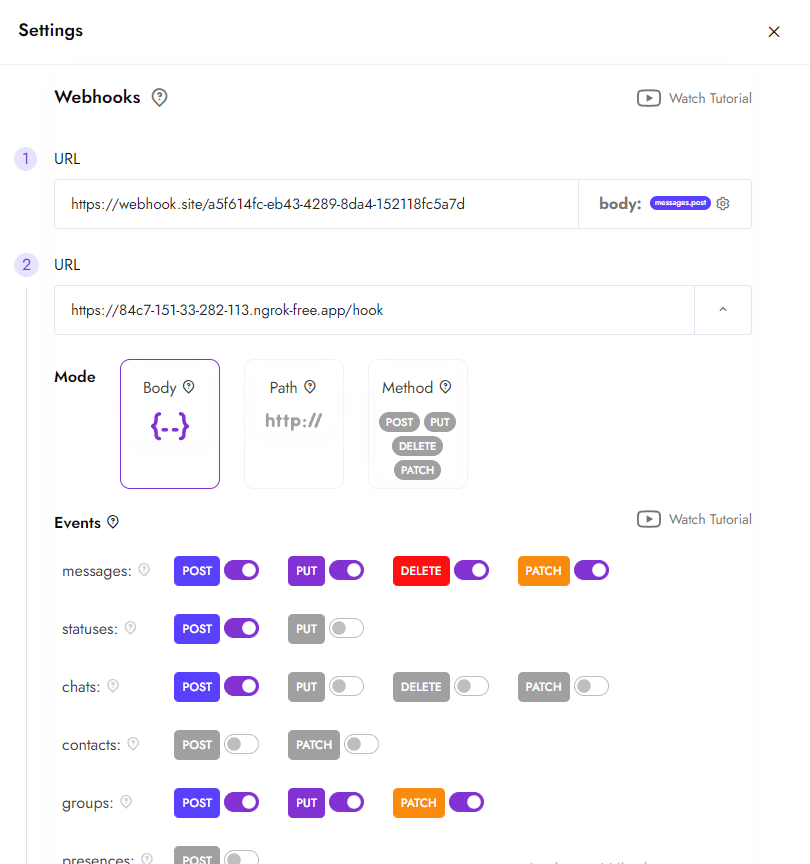
- Go to the channel settings. On the channel page, click the settings button (top right corner).
- Configure the webhook. Enter your URL in the webhook section using preselected settings. You can set up multiple webhooks for different events if necessary. These settings can also be adjusted via the API.
- Save the changes. From now on, all notifications about WhatsApp events will be sent to the server you specified.
Building the Foundation of a WhatsApp Bot in Java
1. Configure Environment Variables
- Windows - Open the command prompt (cmd) and run the command: set WHAPI_TOKEN=XXXXXXXXX;
2. Build the Project Using Maven
3. Run the Bot
This method is convenient if the token has been added as a permanent environment variable;
- 2) Option 2: Passing the token in the command line. If you are not using environment variables, pass the token directly when running the application: java -DWHAPI_TOKEN=XXXXXXXXX -jar target/whatsapp-bot-1.0.jar.
This option is useful for test runs or if you don’t want to store the token in environment variables;
Example of Sending a Text Message via API
// Import necessary libraries
import okhttp3.*; // OkHttp library for HTTP requests

public class SendMessageExample {
    public static void main(String[] args) throws Exception {
        // Step 1: Create an instance of OkHttpClient to send HTTP requests
        OkHttpClient client = new OkHttpClient();

        // Step 2: Define the media type for the request body (JSON in this case)
        MediaType mediaType = MediaType.parse("application/json");

        // Step 3: Create the JSON payload with the recipient's phone number and the message content
        /*
         * "to" - the recipient's WhatsApp number in international format (e.g., 919984351847)
         * "body" - the text message you want to send
         */
        RequestBody body = RequestBody.create(mediaType,
                "{\"to\":\"919984351847\",\"body\":\"Hello, world!\"}");

        // Step 4: Build the HTTP POST request
        Request request = new Request.Builder()
                .url("https://gate.whapi.cloud/messages/text") // API endpoint for sending text messages
                .post(body) // Attach the JSON payload in the request body
                .addHeader("accept", "application/json") // Accept JSON responses
                .addHeader("content-type", "application/json") // Specify JSON content type
                .addHeader("authorization", "Bearer YOUR_TOKEN") // Include your API token for authentication
                .build();

        // Step 5: Execute the request and receive the response
        Response response = client.newCall(request).execute();

        // Step 6: Print the response from the API to see the result
        /*
         * A successful response typically returns a JSON object with message details.
         * Use this information to confirm that the message was sent.
         */
        System.out.println(response.body().string());
    }
}
* "body" - the text of the message that will be sent to the recipient;
* YOUR_TOKEN - replace this value with your API token obtained in the Whapi.Cloud Dashboard;
Processing Incoming Messages via Webhook in Java
public void processMessages(List messages) {
    try {
        // Going through the list of all incoming messages
        for (MessagePayload message : messages) {

            // Ignore messages sent by the bot itself
            if (message.isFromMe())
                continue;

            // Get chatId - identifier of the chat from which the message came
            String chatId = message.getChatId();
            String response;

            // Handle text messages only
            if (message.getType().equals("text")) {
                // Retrieve the message body and convert to lower case for simplified processing
                String body = ((String) message.getText().get("body")).toLowerCase();

                switch (body) {
                    // Responding to “help” or “command” commands
                    case "help", "command" -> {
                        TextMessage txtMessage =
                            TextMessage.builder()
                                .to(chatId)
                                .body(responseMap.get(body)) // The message is taken from the prepared responseMap
                                .build();
                        response = postJson(txtMessage, "messages/text");
                    }

                    // Обработка мультимедиа-запросов: "video", "image", "document"
                    case "video", "image", "document" -> {
                        try (InputStream stream = getFile(body)) {
                            // Create the body of the request to send the file
                            RequestBody fileBody = RequestBody.create(
                                MediaType.parse(MediaTypeFactory.getMediaType(fileMap.get(body)).toString()),
                                stream.readAllBytes()
                            );

                            // Build a multipart request to send a media file
                            MultipartBody multipartBody = new MultipartBody.Builder()
                                .setType(MultipartBody.FORM)
                                .addFormDataPart("to", chatId) // Адресат
                                .addFormDataPart("media", fileMap.get(body), fileBody) // Сам файл
                                .addFormDataPart("caption", responseMap.get(body)) // Описание к медиа
                                .build();

                            response = postMultipart(multipartBody, "messages/" + body);
                        }
                    }

                    // Response to request to send contact card “vcard”
                    case "vcard" -> {
                        try (InputStream stream = getFile(body)) {
                            ContactMessage contactMessage =
                                ContactMessage.builder()
                                    .name("Whapi test")
                                    .to(chatId)
                                    .vcard(new String(stream.readAllBytes())) // vCard file in text form
                                    .build();
                            response = postJson(contactMessage, "messages/contact");
                        }
                    }

                    // Handling unknown commands: send default response
                    default -> {
                        TextMessage defaultMessage =
                            TextMessage.builder()
                                .to(chatId)
                                .body(responseMap.get("unknown"))
                                .build();
                        response = postJson(defaultMessage, "messages/text");
                    }
                }

                // Logging a successful response from the API
                log.info("Response received [{}]", response);
            } else {
                // Logging message types that are not yet processed
                log.warn("{} type not handled", message.getType());
            }
        }
    } catch (Exception e) {
        // Error handling during message processing
        log.error("Could not process the message " + e.getMessage());
    }
} 2) Handling text commands: help and command send pre-prepared responses. video, image, document, and vcard handle requests for sending media files. Unknown commands are processed with a default response;
3) Logging: Logs information about incoming messages and API responses;
4) Errors: Exception handling to prevent failures when receiving messages;
Advanced Features with Whapi.Cloud for Your Integration
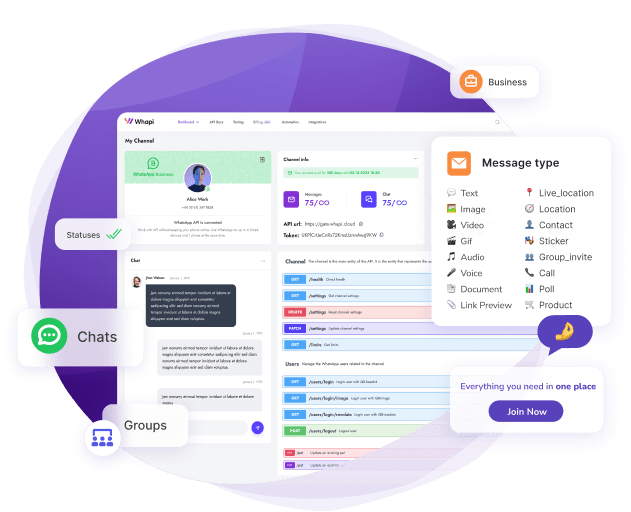
- Sending Messages: Deliver text messages, images, documents, videos, geolocation, contacts, and stickers;
- Dynamic Interaction: Add reactions (emojis) to messages, quote them, mark as read, and set the "typing..." status;
- Group Management: Automatically create and delete groups, add or remove participants, assign administrators, and modify group settings;
- Working with Communities: Configure and manage WhatsApp Communities for structured group communication;
- Send Statuses (Stories): Create and send text or media statuses to specific or all numbers;
- Channel Management: Post text and media announcements to your channel, assign administrators, and receive messages from other channels;
- Advanced Features: Pin chats, block users, send polls and products, and retrieve group and participant data in real-time;
Creating a WhatsApp Group in Java
OkHttpClient client = new OkHttpClient();

MediaType mediaType = MediaType.parse("application/json");
RequestBody body = RequestBody.create(mediaType, "{\"participants\":[\"919984351847\",\"919984351848\",\"919984351849\"],\"subject\":\"Group Subject 99\"}");
Request request = new Request.Builder()
  .url("https://gate.whapi.cloud/groups")
  .post(body)
  .addHeader("accept", "application/json")
  .addHeader("content-type", "application/json")
  .addHeader("authorization", "Bearer YOUR_TOKEN")
  .build();

Response response = client.newCall(request).execute();
Troubleshooting
The Bot Does Not Respond to Incoming Messages
- Ensure you are sending messages to the number on which the bot is running from a different phone. The bot will not be able to respond to messages sent from the same number.
- If the bot does not respond to messages from other numbers, check the operation of webhooks. Use services to simulate webhooks, for example, Webhook.site, to ensure which path the callback requests are coming through. Afterwards, check if the path matches the one you have configured. Also, ensure your server responds with 200Ok.
The Bot Sends Messages Non-Stop
The Bot Works in Some Chats, But Not in Others
Deployment and Using Servers
Firebase
- Create a project in Firebase Console;
- Install Firebase CLI, following the instructions;
- Initialize Firebase in your project directory with the command firebase init;
- Deploy your bot using the command firebase deploy --only functions.
AWS (Amazon Web Services)
- Register or log in to AWS Management Console;
- Create a new Lambda function through the AWS console, selecting API Gateway as the trigger;
- Upload your bot's code into the Lambda function;
- Configure the API Gateway to interact with your bot and the outside world.
Heroku
- Create an account on Heroku;
- Install Heroku CLI and log in;
- Create a new Heroku app through the console or using the command heroku create;
- Link your Git repository to Heroku and perform deployment with the commands git push heroku master;
- Set the webhook URL provided by Heroku.
