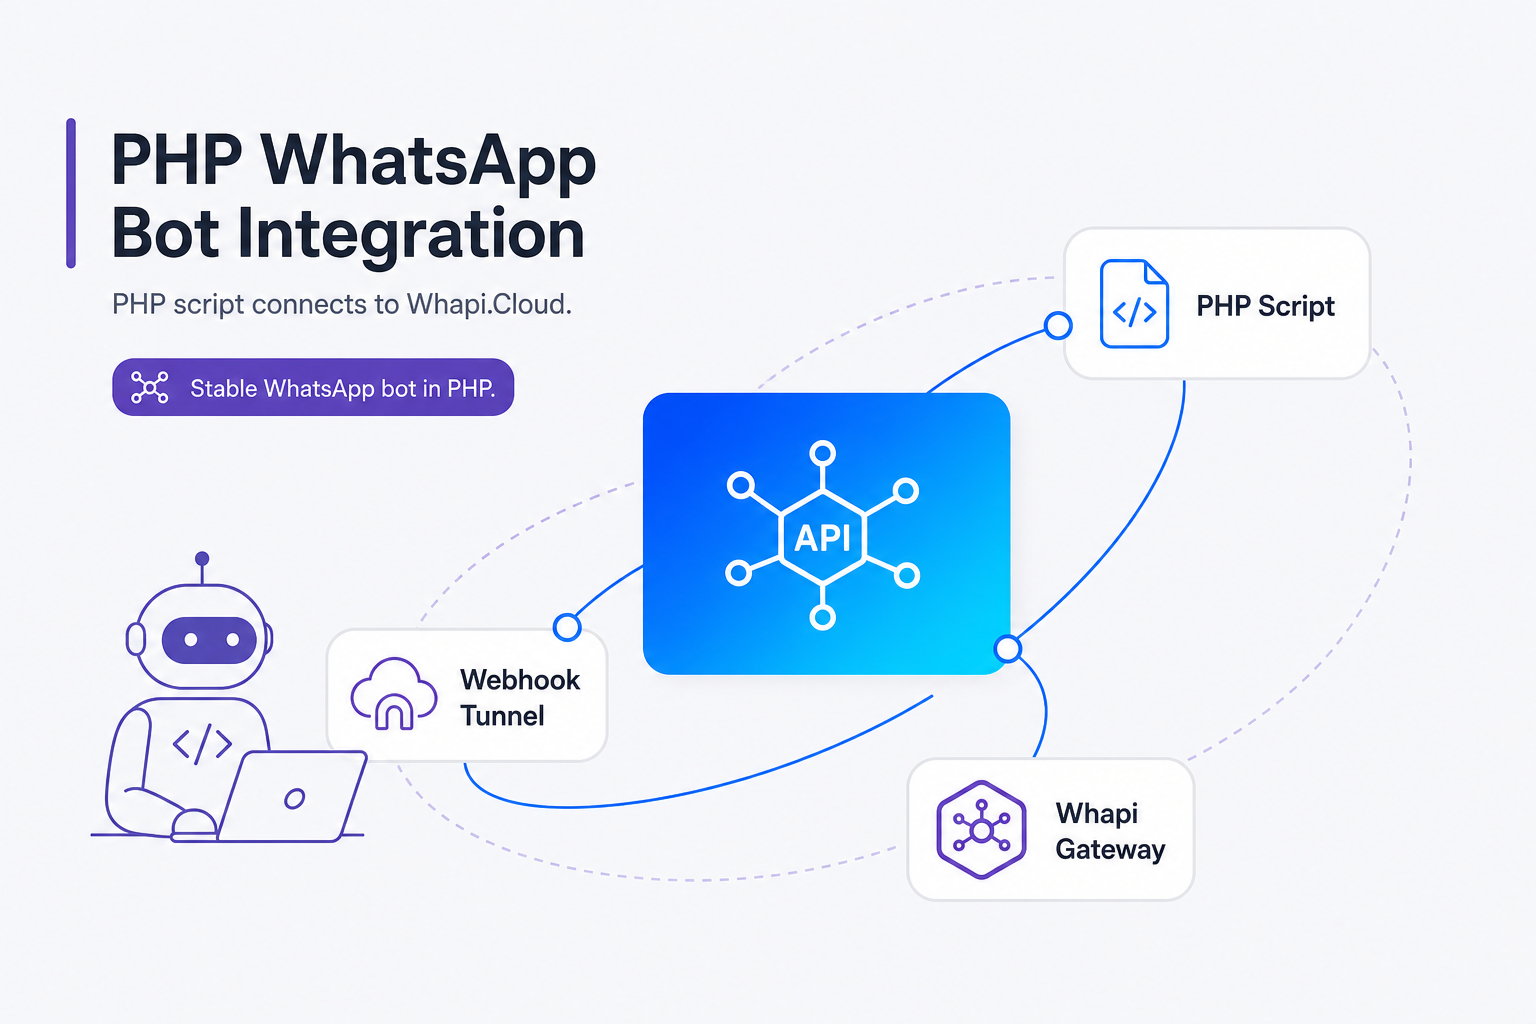
TL;DR: Skip outdated PHP SDKs and fragile browser-emulation libraries. Use a clean, native PHP cURL script for quick shared-hosting deploys, or scale with a Composer-driven PSR-4 Guzzle client. Connect any number via QR code in 2 minutes, enforce the self-loop guard to prevent infinite self-reply billing loops, and automate WhatsApp groups up to 1024 members with flat-rate Whapi.Cloud subscription pricing.
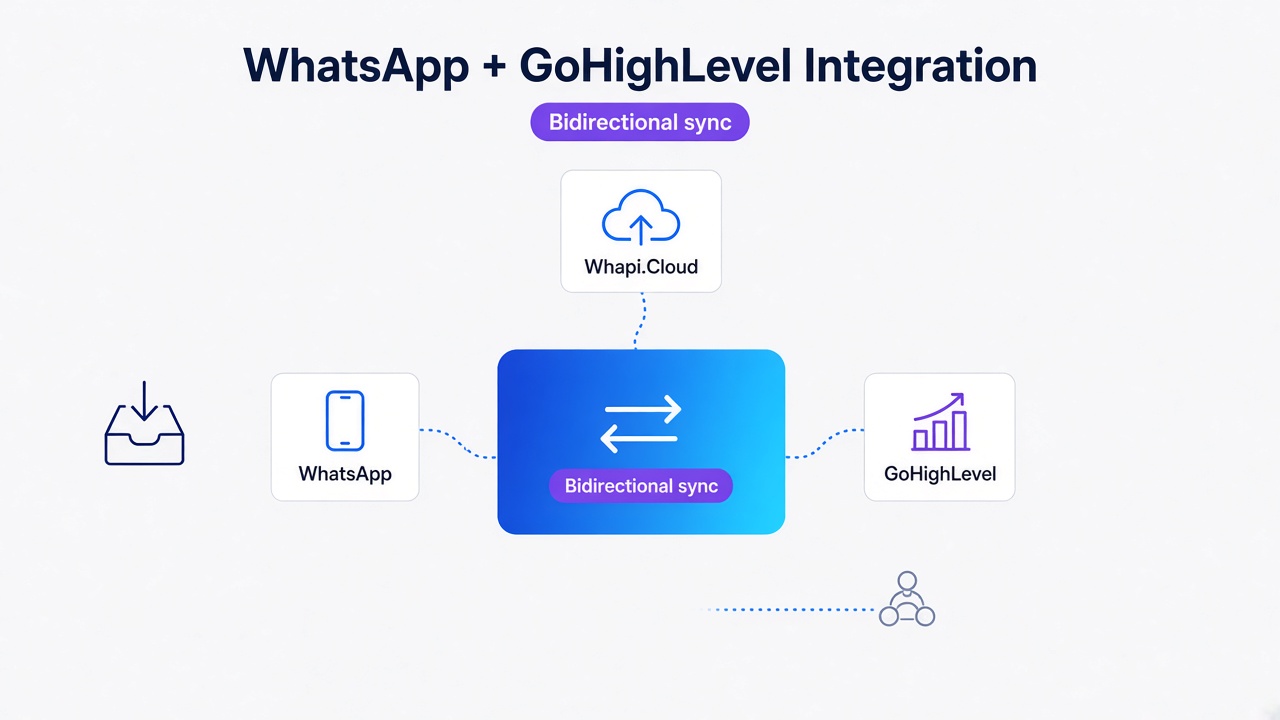
This step-by-step guide from Whapi.Cloud, a WhatsApp API gateway provider, explains how to build a stable WhatsApp bot in PHP 8.x for developers and webmasters using both native cURL and structured OOP approaches. Connecting a WhatsApp number via web-session sockets bypasses Meta's business verification, allowing developers to establish webhook integrations and send unlimited messages under a flat-rate monthly subscription.
This article is written for PHP developers seeking to automate WhatsApp groups and channels without the overhead of heavy frameworks. It focuses on setups where developers need either a copy-pasteable native script for shared hosting or a modern, maintainable PHP 8.2-8.4 class structure. It does not cover writing custom database queues or async message brokers, prioritizing instead the core integration mechanics and loop-prevention safeguards.
Why Developers Avoid Meta's Official WhatsApp Cloud API
Meta's metered conversation-based pricing and rigid category reclassifications make outbound notification costs unpredictable. Startups face sudden tenfold cost spikes alongside strict pre-approval gates for every message template they send.
Every delivered notification can incur unexpected charges under Meta's model if conversation categories are reclassified. If Meta's automated algorithms reclassify a standard order update from a "utility" category to a "marketing" category, your per-message delivery costs can suddenly multiply tenfold. Additionally, official setups require Facebook Business Manager verification, strict opt-in collection rules, and pre-approved HSM templates that prevent you from sending organic, conversational messages.
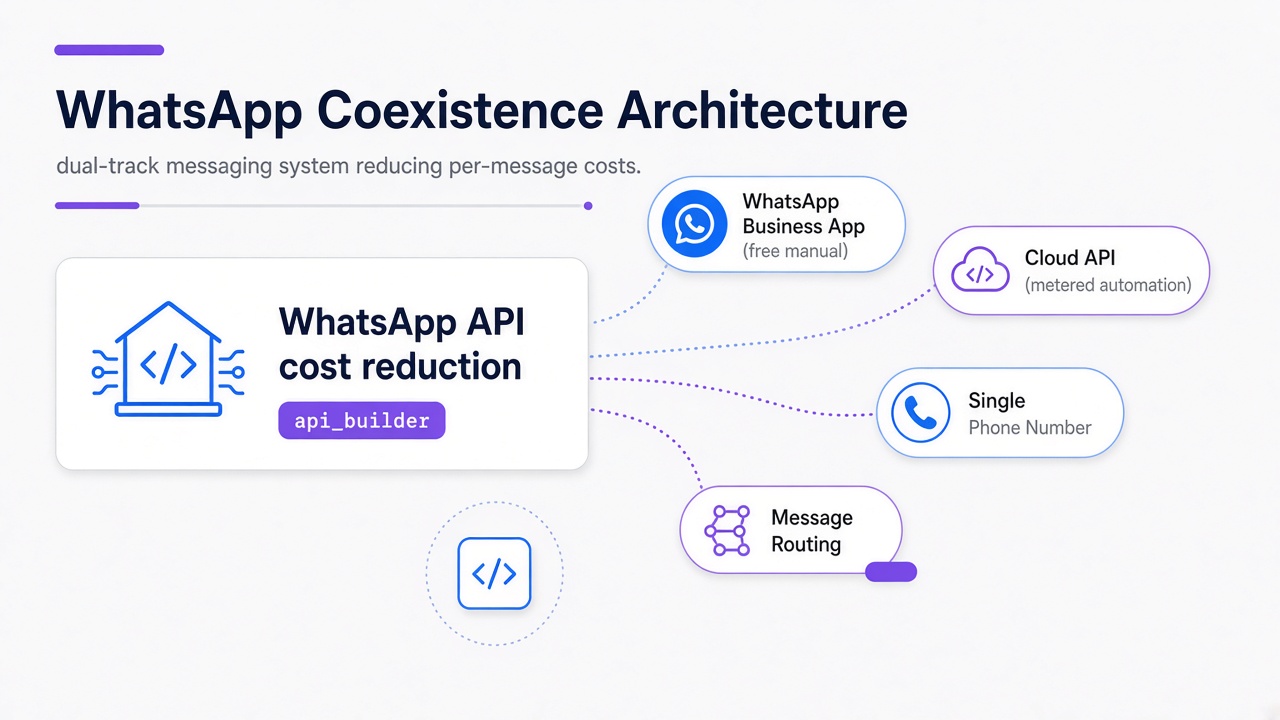
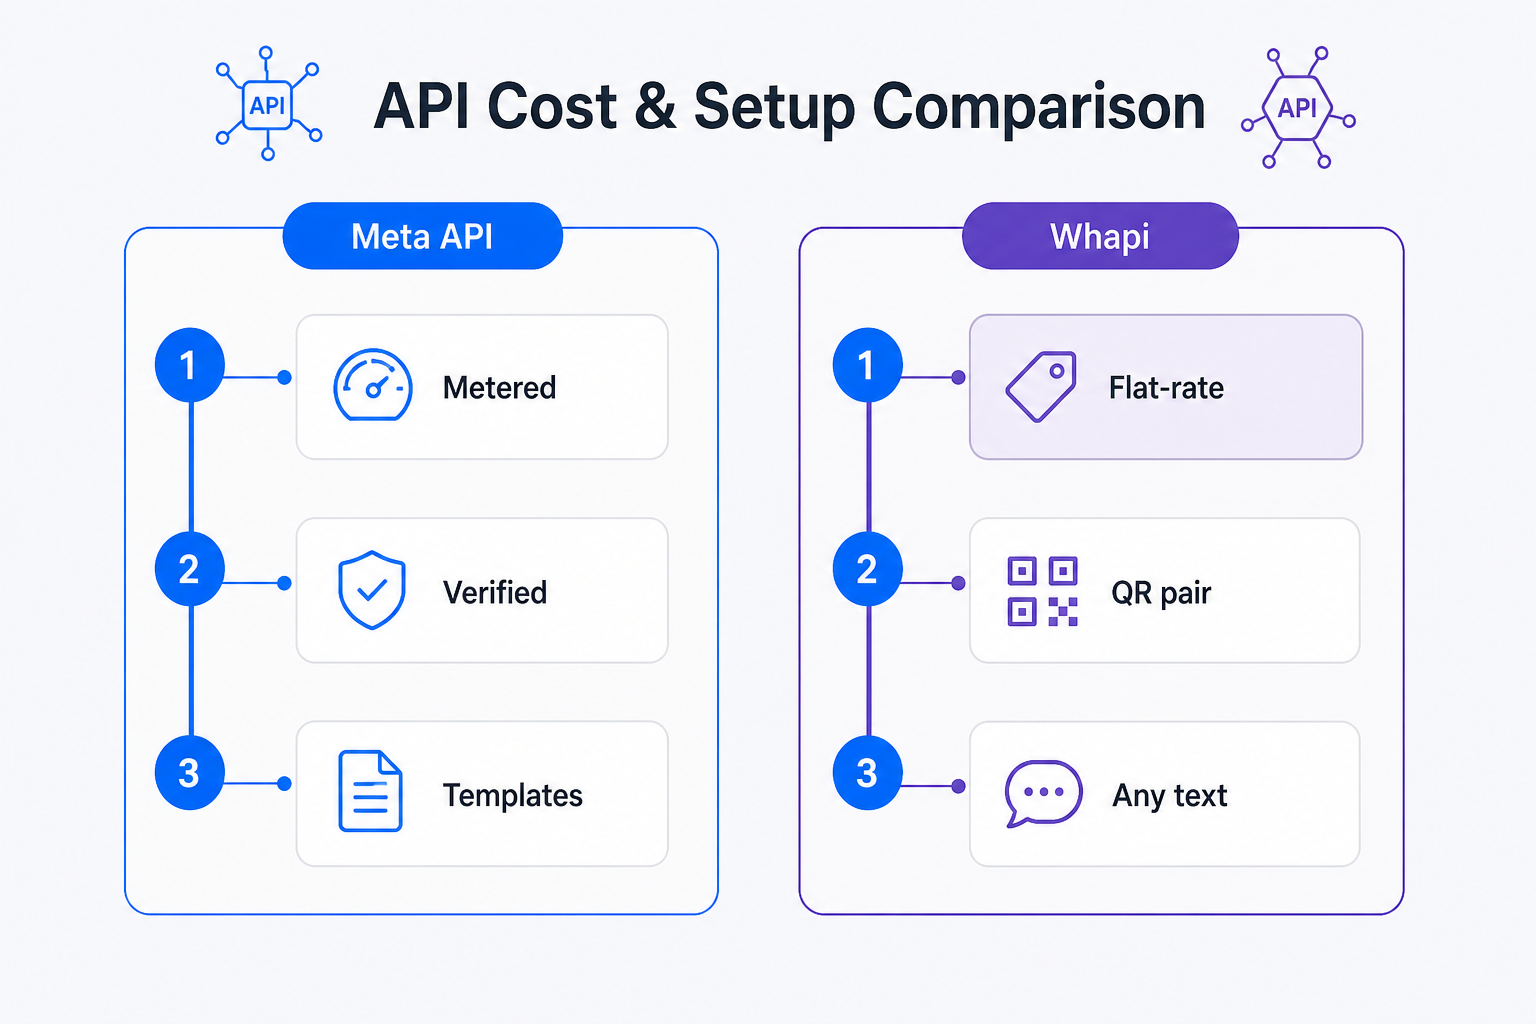
Whapi.Cloud bypasses these bureaucratic hurdles by connecting to WhatsApp through web-session sockets--the exact same mechanism WhatsApp Web uses. This allows you to run your bot on a flat-rate monthly subscription with unlimited messages, zero template pre-approvals, and full access to native WhatsApp features like groups and channels. Below is the direct operational comparison between the two paths.
| Operational Metric | Meta Official Cloud API | Whapi.Cloud API Gateway |
|---|---|---|
| Setup & Onboarding Time | Days to weeks (requires Facebook Business Manager) | Under 2 minutes (QR code scan) |
| Business Verification | Mandatory before launching production volume | Not required (any active phone number works) |
| Pricing Model | Metered conversation-based rates + BSP markups | Flat monthly subscription (unlimited messaging) |
| Group Participant Limit | Strictly capped (max 8 members, highly restricted) | Up to 1024 members per group (native WhatsApp limit) |
| Channel & Status Support | Not available | Full API access to create and post updates |
| Template Pre-Approval | Mandatory for all business-initiated messages | Zero restrictions (send any custom text or media) |
We've seen production budgets multiply tenfold overnight when a simple customer utility notification was reclassified as a marketing template by Meta's compliance algorithm. By using an API gateway instead, solo developers and startups retain full control over their messaging economics, ensuring predictable monthly expenses regardless of conversation volume.
Step 1: Connect Your WhatsApp Number via QR Code in 2 Minutes
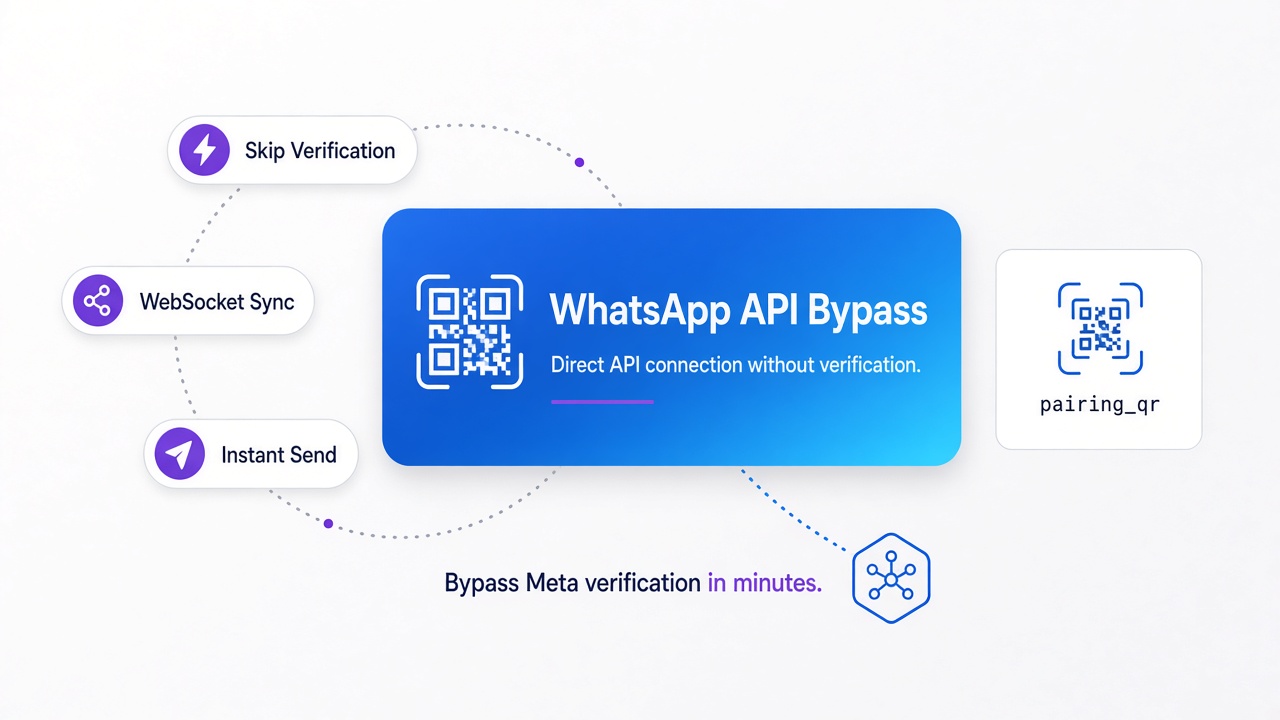
Bypassing Meta's business verification requires only a standard WhatsApp account and a QR code scan. This establishes a stable web-session socket connection, giving you immediate API access to send messages and manage groups.
Scanning the QR code establishes a stable web-session socket that lets your PHP script bypass business registration entirely. Any active WhatsApp number--personal or business--can be linked immediately, allowing you to develop and test your bot on your own personal device before deploying to a dedicated production number. To get started, choose one of Whapi.Cloud's flat-rate pricing plans that fits your message volume.
To connect your number, follow these steps:
-
Create an Account: Register for a free account at the Whapi.Cloud Registration Portal. This takes less than 30 seconds.
-
Generate the QR Code: Click on your channel to view your unique connection QR code. The dashboard renders this dynamically from your web-session socket instance.
-
Link Your Device: Open WhatsApp on your phone, navigate to Settings > Linked Devices, tap Link a Device, and scan the QR code.
-
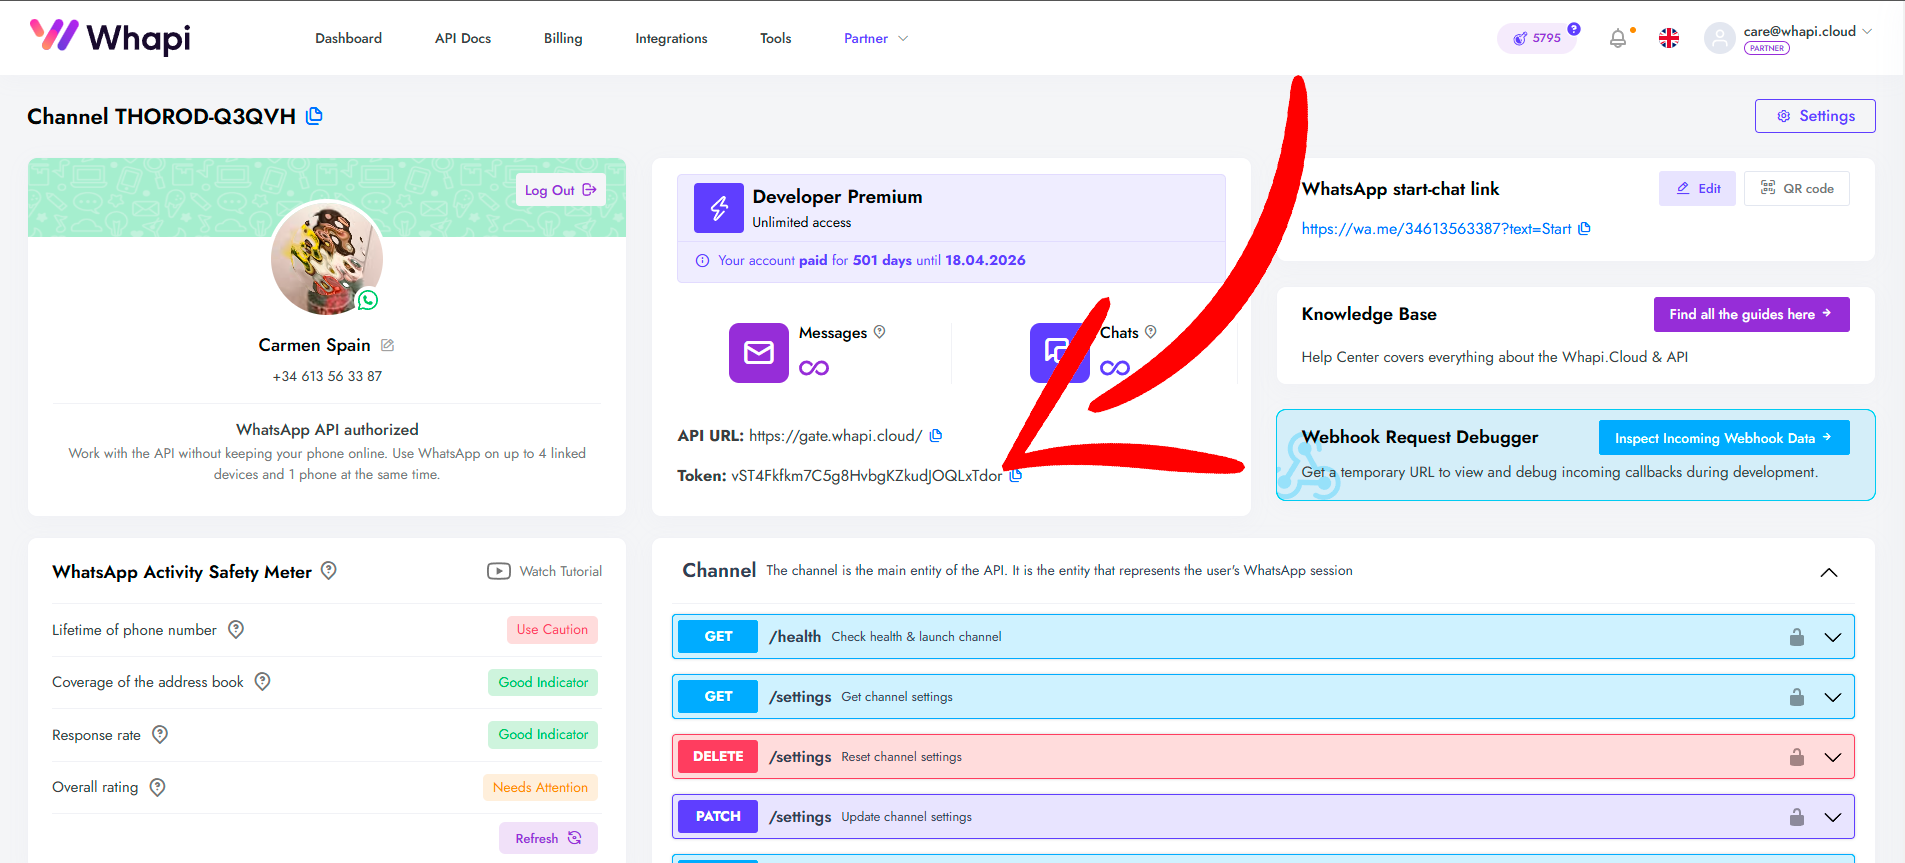
Copy Your Token: Copy your unique API Token from your dashboard. Keep this token secure, as it grants full programmatic access to your WhatsApp account.
Step 2: Expose Your Local Server with Ngrok
WhatsApp webhooks require a secure, public HTTPS endpoint to deliver real-time message payloads. Ngrok creates a secure tunnel to your local PHP server, allowing you to test webhook integrations instantly without deploying to a live VPS.
Webhooks cannot reach your local server if it sits behind a NAT or local firewall without a secure tunnel. By utilizing Ngrok during development, you bypass the need to upload code to a live VPS or configure complex domain DNS settings every time you edit a line of code. All incoming payloads are forwarded straight to your local Apache or built-in PHP development server.
To configure your local environment for webhook reception, complete these steps:
-
Start Your Local Server: Start PHP's built-in server inside your project directory by running
php -S localhost:80. -
Launch Ngrok: Run
ngrok http 80in your terminal. Ngrok generates a secure HTTPS forwarding URL likehttps://abc-123.ngrok-free.appthat bridges the internet to your local machine. -
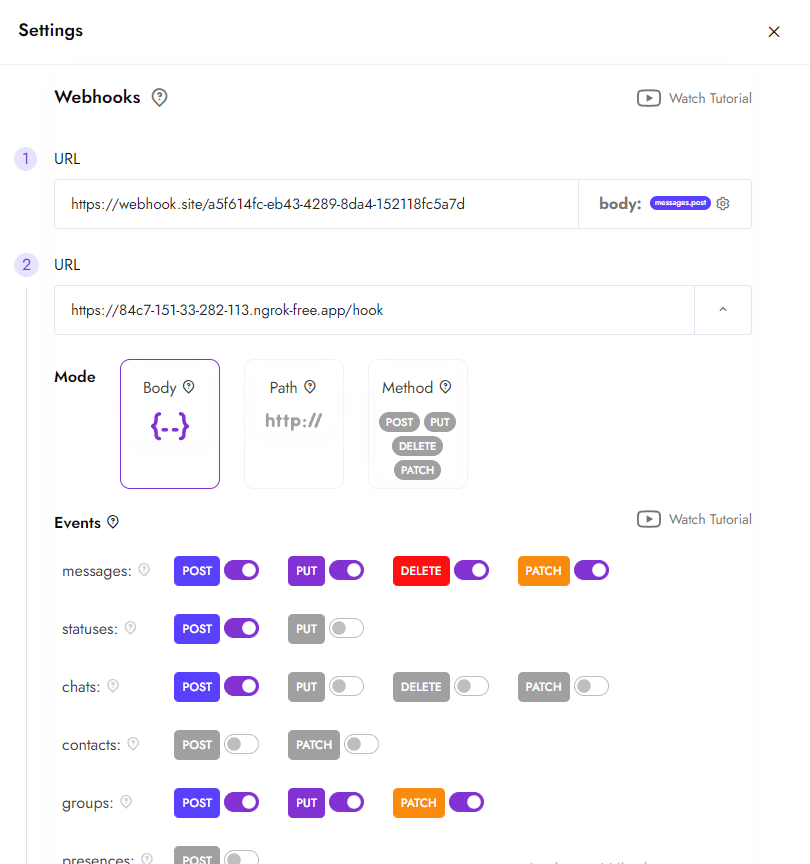
Set the Webhook URL: Enable webhooks in your Whapi.Cloud Dashboard and paste your Ngrok HTTPS URL followed by your script endpoint (e.g.,
https://abc-123.ngrok-free.app/index.php).
Step 3: Build a Zero-Dependency PHP Bot in One File
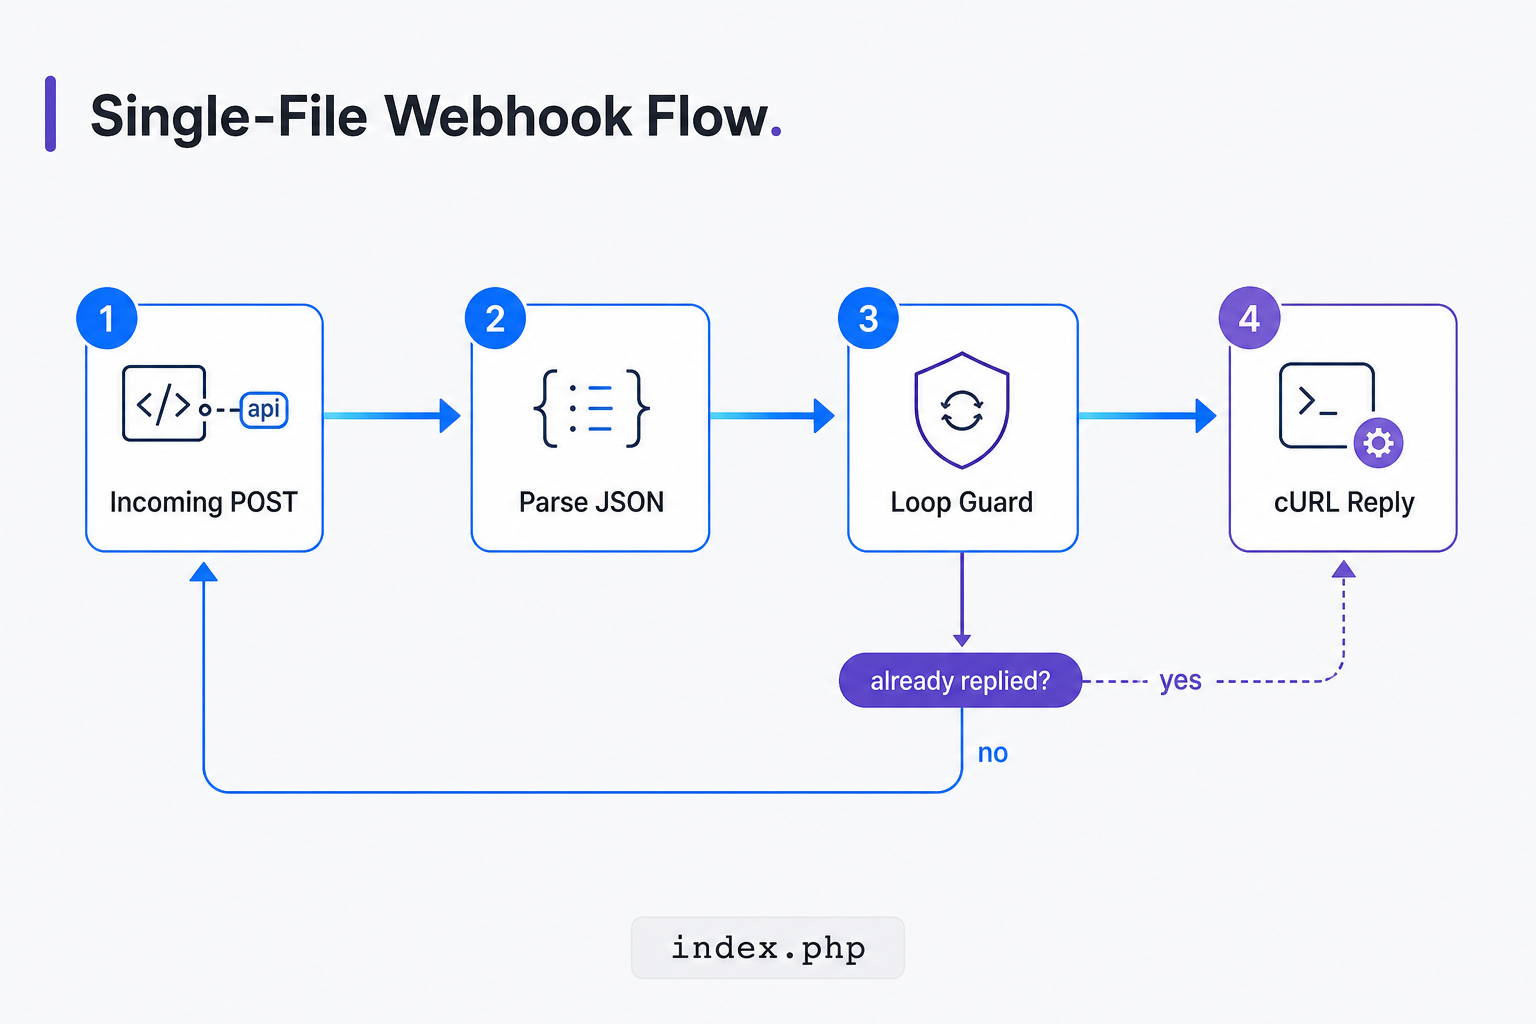
A single-file PHP script using native JSON decoding and cURL POST requests is fully compatible with any cheap shared hosting. This lightweight setup is perfect for simple, immediate auto-reply integrations.
Always filter incoming webhooks: the self-loop guard is the critical defense that stops your bot from answering its own messages. When your bot sends a message, WhatsApp fires an outbound webhook notification back to your script containing the newly sent text. If your script parses this outgoing event as an incoming message and attempts to reply, it enters an infinite self-reply loop, exhausting your API quota in minutes and risking an immediate number ban. We call this the self-loop guard. Refer to developer documentation for a complete list of webhook fields.
Create a file named index.php in your local document root and add the following complete, dependency-free code:
 $chatId,
            'body' => 'pong'
        ];

        // Send native cURL POST request to Whapi's sendMessageText endpoint
        $ch = curl_init("{$baseUrl}/messages/text");
        curl_setopt($ch, CURLOPT_RETURNTRANSFER, true);
        curl_setopt($ch, CURLOPT_POST, true);
        curl_setopt($ch, CURLOPT_POSTFIELDS, json_encode($replyPayload));
        curl_setopt($ch, CURLOPT_HTTPHEADER, [
            "Authorization: Bearer {$apiToken}",
            "Content-Type: application/json"
        ]);

        $response = curl_exec($ch);
        curl_close($ch);
    }
}
Critical: The Loop Storm Hazard
Failing to inspect the from_me flag is the single most common mistake in WhatsApp bot development. Because WhatsApp notifications contain both inbound messages and your own outbound replies, a bot that doesn't skip self-sent messages will enter an infinite loop. This will consume your entire message quota in minutes and can lead to immediate number suspension.
The code above uses native cURL execution, making it compatible with any hosting provider--even shared cPanel accounts with strict security setups. It validates incoming packets, isolates incoming text strings, and fires a clean POST request back to the /messages/text endpoint.
Step 4: Build a Professional OOP Bot with Composer and Guzzle
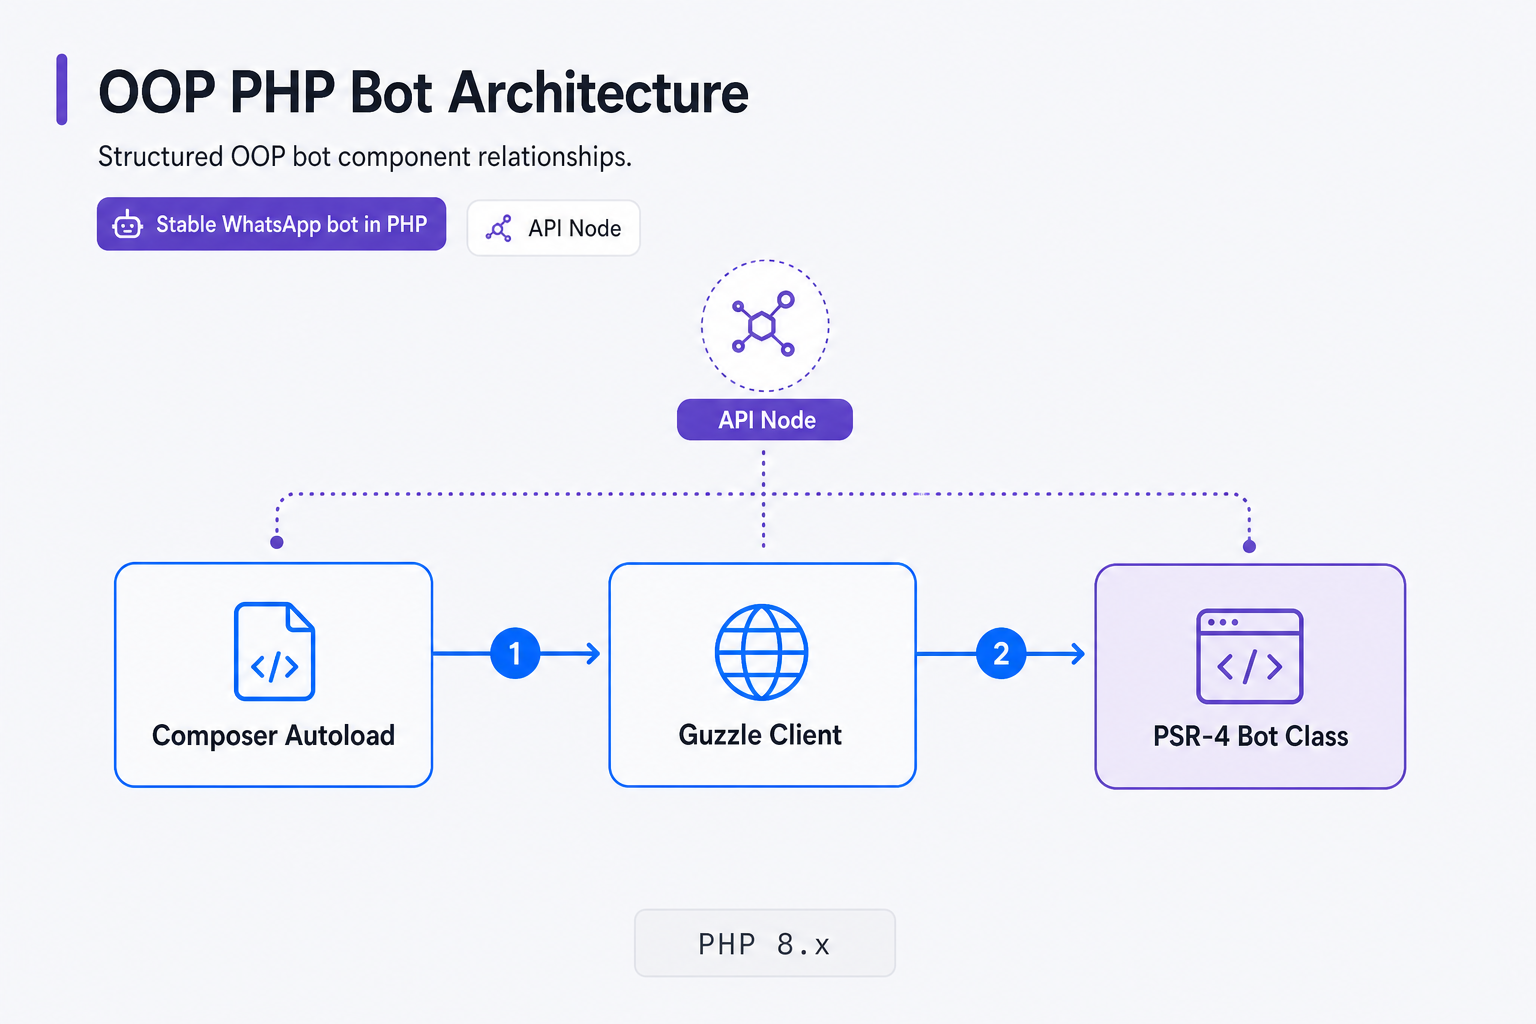
Scaling a PHP bot requires a structured, PSR-4 autoloaded class architecture. Using Guzzle HTTP Client prevents slow network requests from blocking your PHP-FPM worker pool, ensuring high-volume stability.
Using Guzzle HTTP Client manages response errors and connection timeouts safely, preventing slow requests from locking up your PHP-FPM pool. When developing for high-volume applications, synchronous, raw cURL scripts block the executing thread on slow requests, which quickly starves your server's pool of workers. An OOP wrapper handles HTTP failures gracefully, logging issues without taking the webhook listener offline.
We won't cover writing custom database queues or async message brokers here--for a solo PHP developer, simple inline execution works fine until your volume exceeds 10,000 messages daily, at which point you should migrate to Laravel queues or Symfony Messenger. First, create your composer.json file to establish autoloading and define your dependencies:
{
    "name": "whapi/whatsapp-php-bot",
    "description": "Professional OOP WhatsApp Bot using PSR-4, Guzzle, and PHP 8.x",
    "type": "project",
    "require": {
        "php": ">=8.1",
        "guzzlehttp/guzzle": "^7.8"
    },
    "autoload": {
        "psr-4": {
            "App\\": "src/"
        }
    }
}
Run composer install in your directory to download Guzzle and build the autoloader. Next, create a directory named src/ and place the core bot logic in src/WhatsAppBot.php:
apiToken = $apiToken;
        $this->client = new Client([
            'base_uri' => 'https://gate.whapi.cloud/',
            'timeout'  => 5.0,
            'headers'  => [
                'Authorization' => "Bearer {$this->apiToken}",
                'Content-Type'  => 'application/json',
                'Accept'        => 'application/json'
            ]
        ]);
    }

    /**
     * Sends a text message to a specific WhatsApp contact or Chat ID.
     */
    public function sendTextMessage(string $to, string $body): bool
    {
        try {
            $response = $this->client->post('messages/text', [
                'json' => [
                    'to' => $to,
                    'body' => $body
                ]
            ]);
            return $response->getStatusCode() === 200;
        } catch (GuzzleException $e) {
            error_log("WhatsApp API delivery failure: " . $e->getMessage());
            return false;
        }
    }

    /**
     * Programmatically creates a WhatsApp Group and adds participants.
     */
    public function createGroup(string $subject, array $participants): ?string
    {
        try {
            $response = $this->client->post('groups', [
                'json' => [
                    'subject' => $subject,
                    'participants' => $participants
                ]
            ]);

            $body = json_decode($response->getBody()->getContents(), true);
            return $body['group_id'] ?? null;
        } catch (GuzzleException $e) {
            error_log("WhatsApp API group creation failure: " . $e->getMessage());
            return null;
        }
    }
}
Now, build your public webhook gateway. Create a folder named public/ and write the following entry script inside public/webhook.php:
sendTextMessage($chatId, 'pong');
    }
}
By organizing your bot under PSR-4 namespace standards, you can easily integrate this class structure into modern PHP frameworks like Laravel or Symfony. Your webhook endpoint remains clean, routing heavy network operations and error logging to the isolated Guzzle client wrapper.
Step 5: Automate WhatsApp Groups and Channels
Whapi.Cloud unlocks full programmatic control over WhatsApp Groups up to 1024 members and public broadcast Channels. Unlike Meta's official API, you can manage community chats and send mass updates without per-message conversation fees.
Programmatic group creation and automated channel broadcasting let you bypass the 1:1 message restrictions that govern regular chat limits. In the official WhatsApp Business API, sending broadcast notifications requires pre-approved templates, triggers individual per-message conversation costs, and limits groups to a maximum of 8 participants. In Whapi.Cloud, you get full programmatic control to create groups up to 1024 members and post to public channels without template pre-approvals or per-message charges -- because Whapi.Cloud connects via web-session sockets on a flat-rate monthly subscription. This is supported by our dedicated WhatsApp Groups API and WhatsApp Channels API integrations.
Here is how you can use your OOP class to programmatically create a group with two participants, and immediately send a welcome message to it:
createGroup('PHP Dev Automation', $participants);

if ($groupId) {
    // Send a message directly to the group Chat ID
    $bot->sendTextMessage($groupId, 'Welcome to the PHP Dev Automation group! This message was sent programmatically.');
    echo "Group successfully created! ID: " . $groupId;
} else {
    echo "Group creation failed. Check error logs for details.";
}
You can use the exact same sendTextMessage function to post updates to your WhatsApp Channel. Simply replace the $to parameter with your Channel's Chat ID (formatted as [email protected] or your channel-specific suffix). The socket gateway treats all destinations identically, sending raw JSON payloads directly over the linked session socket.
How to Develop for Free with Whapi.Cloud's Permanent Sandbox
Whapi.Cloud's permanent developer sandbox provides five free active chats for testing. You can fully develop, debug webhooks, and test loop-prevention safeguards before committing to a paid commercial subscription.
The free Sandbox tier is not time-limited and provides up to 5 active chats for sandbox-restricted testing. This allows you to prototype your entire PHP integration, register webhooks, test self-loop guards, and experiment with media attachments without ever adding a credit card. Once your bot is tested and ready, you can seamlessly migrate your code to a production channel by swapping your API token.
The Developer Sandbox includes a permanent allotment of 150 messages per day and 1,000 API requests per month, which is more than enough for development, debugging, and proof-of-concept testing.
How to Prevent WhatsApp Number Bans in Production
WhatsApp's automated spam detection operates on the server side, monitoring sudden volume spikes of identical cold messages. Protecting your sender number requires a disciplined warmup phase, randomized typing delays, and conversational, bi-directional engagement.
Spam detection is server-side and automated: sudden spikes in identical cold outbound messages are the fastest trigger for account suspension. Because Whapi.Cloud runs over web-session sockets, WhatsApp evaluates your activity exactly as if you were using a physical web browser. If a brand-new number suddenly sends 5,000 identical marketing messages in an hour without any inbound replies, carrier-level filters will immediately flag and block the account.
To protect your connected numbers, enforce these four production rules:
-
Warm Up New Numbers: Gradually scale message volume over 7 to 10 days. Start with 50 messages on day one, and only increase volume after exchanging bi-directional chats with trusted contacts.
-
Add Random Typing Delays: Use Whapi's
typing_timeparameter to pause for 2 to 5 seconds before firing a response. This simulates a real human typing. -
Broadcast via Channels: When sending notifications to thousands of users, prefer WhatsApp Channels. This broadcast medium requires users to explicitly join, eliminating individual spam report risks.
-
Rely on the Readiness Score: Check your dashboard's built-in number readiness score before launching bulk notification workflows.
In our experience, numbers that have been warmed up by exchanging conversational, bi-directional chats with trusted contacts for 7 to 10 days before launching automated alerts maintain a significantly higher reputation score and are virtually immune to sudden automated blocks. Prioritize user engagement: a user who replies to your bot actively strengthens your sender score. For more detailed strategies, review Whapi.Cloud's guide on how to avoid WhatsApp bans.
Troubleshooting Common WhatsApp Bot Setup Failures
Most WhatsApp bot deployment failures stem from expired local tunnel URLs, missing self-loop guards, or shared hosting port restrictions. Systematically checking these three integration checkpoints resolves virtually all common bugs.
Always close your troubleshooting loops by consulting the live Whapi.Cloud support widget for immediate assistance. If your server is not responding to incoming events, verify these three checkpoints before refactoring your core PHP classes:
-
Ngrok Tunnel Expired: Free Ngrok tunnels change URLs on restart. If your bot suddenly stops receiving webhooks, verify that your current Ngrok URL matches the Webhook URL pasted in your Whapi.Cloud settings.
-
Missing Self-Loop Guard: If your bot replies twice or keeps repeating its responses in an endless loop, ensure the
from_meblock is active. This must be the very first check inside your message processing loop. -
Shared Hosting Port Blocking: Some shared cPanel hosts block outbound custom ports. Confirm that your server's firewall does not block Guzzle's outgoing SSL connections to
gate.whapi.cloudon port 443.
If you encounter unexpected behavior, reach out to the Whapi.Cloud support team via the chat widget on whapi.cloud -- the team actively helps customers resolve production issues. Direct developer access to skilled engineers removes the traditional ticketing delays common with large, enterprise communication platforms.